Deploy Your Site
Follow these steps to get your Lizardware CMS instance running on Cloudflare's global edge network.
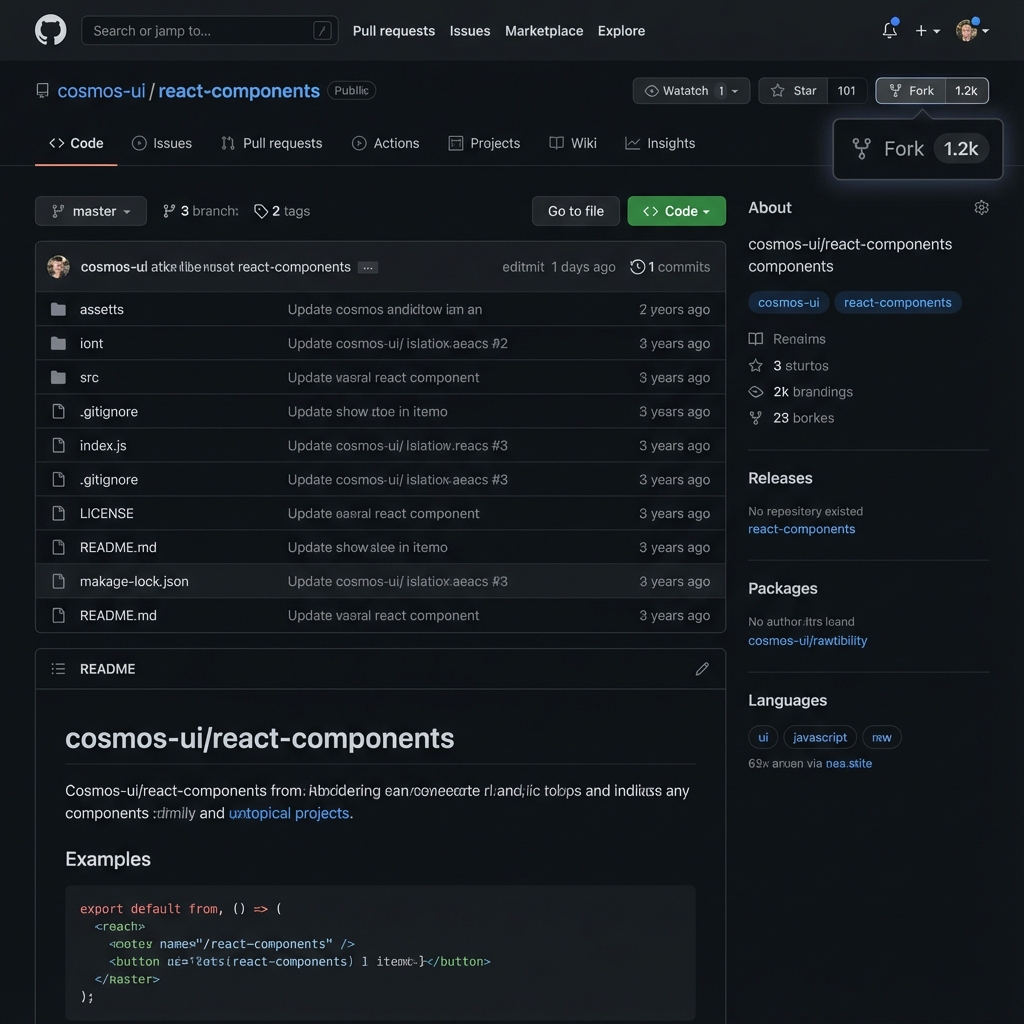
Fork the Repository
Start by creating your own private copy of the Lizardware codebase on GitHub. No coding or terminal commands required!
- Navigate to the Lizardware Repository.
- Click the Fork button in the top right.
- Ensure "Copy the main branch only" is checked.
- Click Create fork.
Connect to Cloudflare
Now we'll point your Cloudflare account to that new fork you just created. This is the "Import from Git" flow—the fastest way to go live.
- Go to dash.cloudflare.com.
- Navigate to **Workers & Pages** → **Create Application** → **Pages**.
- Click **Connect to Git** and choose the Lizardware fork you created in Step 1.
- On the **Build Configuration** screen:
- Framework Preset: **None** (or **Next.js** if auto-detected)
- Build Command:
npm run build - Build Output Directory:
.open-next
Critical Action Required
Under **Environment Variables (Production)**, you MUST add your Cloudflare API Token.
Name: CLOUDFLARE_API_TOKEN
Value: (Your Custom Token with D1/KV/R2 Edit permissions)
Create your own copy of the Lizardware codebase.
- Go to the Lizardware Repository .
- Click the Fork button (top right corner) to create a copy in your account.
We use GitHub Actions to automatically create your database and deploy your site. You just need to provide credentials so GitHub can talk to Cloudflare.
Get your Cloudflare Info:
- Account ID & Project Name: Found on the right side of the Cloudflare Dashboard under Workers & Pages > Overview.
- API Token: Go to My Profile > API Tokens.
Create a Custom Token with permissions: Account (Read), D1 (Edit), KV (Edit), R2 (Edit), Workers Scripts (Edit).[SCREENSHOT PLACEHOLDER: Cloudflare API Token Creation Screen]
Add "Secrets" to GitHub (Hidden Credentials):
- Go to your forked repository on GitHub.
- Click Settings > Secrets and variables > Actions.
- Staying on the Secrets tab, click New repository secret.
- Name:
CLOUDFLARE_API_TOKEN - Value: Paste your long API Token string.
- Click Add secret.
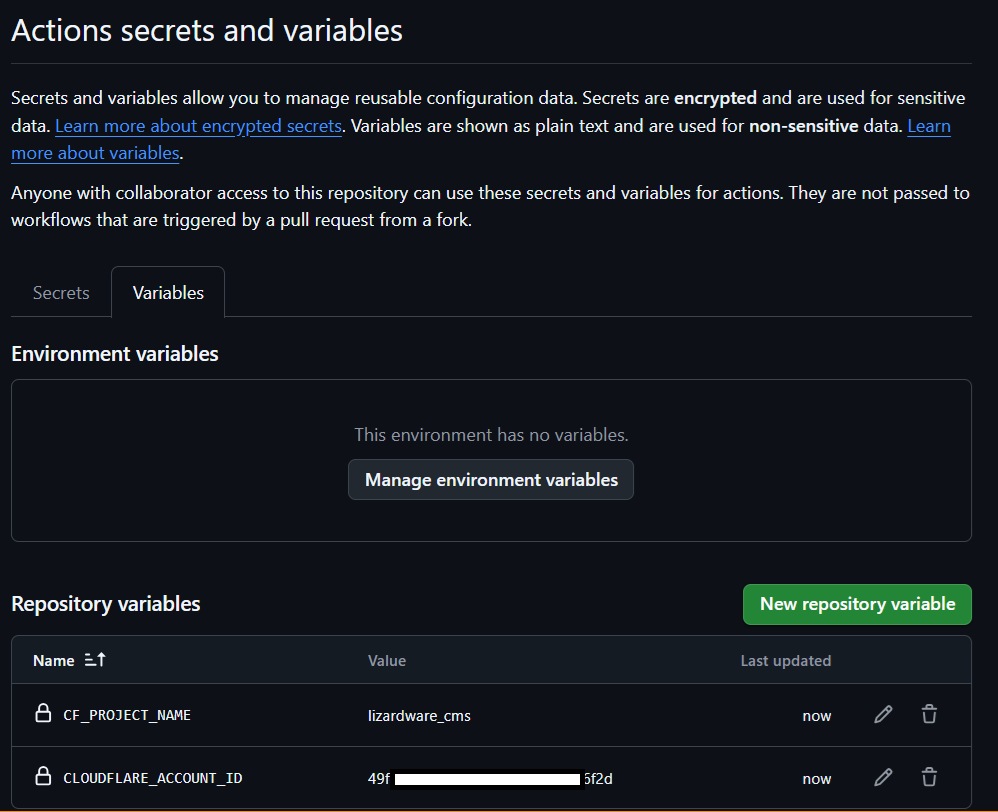
Add "Variables" to GitHub (Visible Metadata):
- Click the Variables tab (next to "Secrets").
- Click New repository variable.
- Add
CLOUDFLARE_ACCOUNT_ID(e.g.49f...). - Add
CF_PROJECT_NAME(e.g.lizardware-cms).
Trigger Deployment:
Go to the Actions tab in your repo. You might see a "Deploy" workflow waiting or running. If not, make a small change (like editing README.md) to trigger it.
Why separation? Secrets remain encrypted and hidden forever. Variables are visible text for configuration.
Once your Cloudflare Page finishes its first build, your site is live! Deployment typically takes 2-4 minutes once triggered.
Smart Login: If you're already logged into Cloudflare, clicking the "Visit Site" button in your dashboard will take you straight to your new home.
- Find your Pages URL (e.g.
project-name.pages.dev) in the Cloudflare Dashboard under Workers & Pages. - Visit the URL in your browser.
- You'll be automatically redirected to
/setup. - Follow the Setup Wizard:
- Step 1 will verify your API Token and resources.
- Choose your Business Type (e.g., Marketing, Software Dev).
- Click Complete to initialize the content.
✨ No manual database creation required! The wizard handles the heavy lifting.
Encountering Issues?
If the build fails or you see error messages in Cloudflare, don't panic. Our troubleshooting guide covers all common alpha-test issues.
🔴 Common: Build Failures
Usually caused by missing CLOUDFLARE_API_TOKEN in your Cloudflare build variables.
Fix: Ensure the token has "Edit" permissions for D1, KV, and R2.
🟠 Common: 500 Error on /admin
The admin dashboard requires correct bindings to talk to D1/KV.
Fix: Run the Resource Step in the Setup Wizard again or check Cloudflare permissions.